

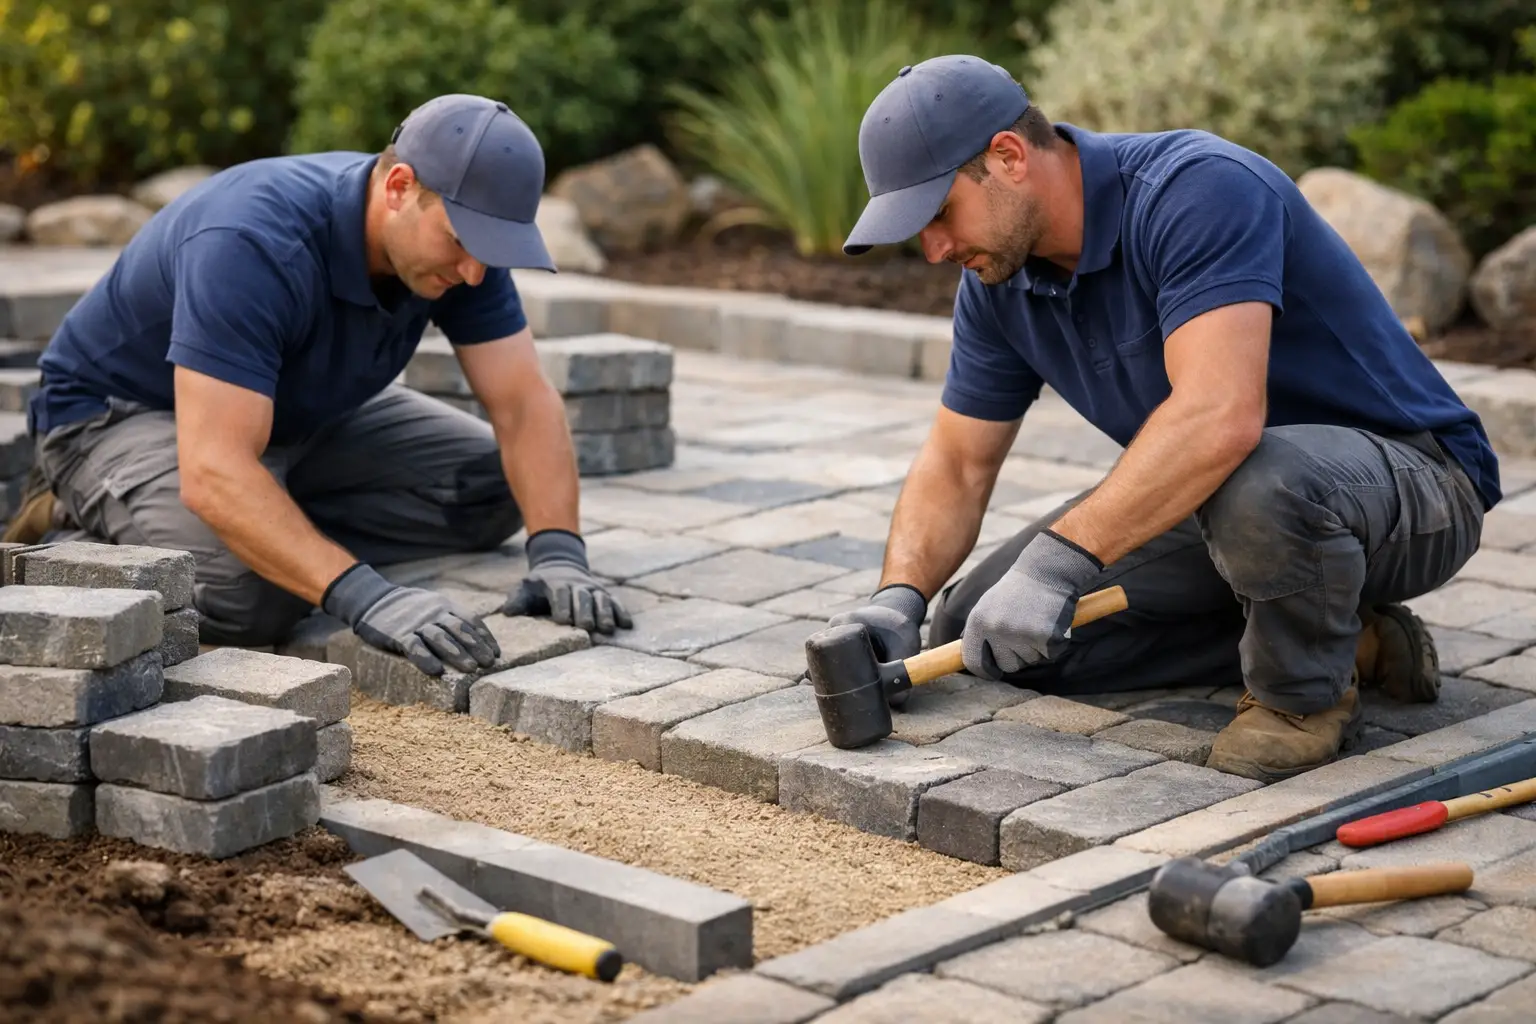
A paver patio can look finished in a single afternoon, but the work that determines whether it stays level happens below the surface. For homeowners learning how to install hardscape pavers, the key is not simply placing attractive pavers in a pattern. It is building a compacted base, managing water, and containing the edges so the finished surface can handle Oregon rain, seasonal soil movement, and everyday use.
A well-built paver patio, walkway, or landing adds usable outdoor space and curb appeal. A poorly prepared installation can settle, hold water, spread apart at the edges, or develop uneven areas within a few winters. This guide explains the construction process, along with the points where professional excavation, drainage, and hardscape experience make a real difference.
Plan the Surface Before Digging
Start by defining the purpose of the paver area. A front walkway, backyard patio, grill pad, and driveway do not need the same excavation depth or base thickness. Pedestrian areas generally need a properly compacted aggregate base of 4 to 6 inches, while a driveway commonly requires 6 to 10 inches or more depending on soil conditions, vehicle weight, and local site drainage.
Choose pavers rated for the intended use. Concrete pavers are a common choice for patios and walkways because they offer consistent sizing, many color options, and repairable sections. Natural stone creates a different look but often requires more careful selection and installation because thickness can vary. Before ordering material, confirm the paver dimensions, pattern, edge pieces, and total square footage. Add material for cuts and waste, especially when using a diagonal or curved layout.
The finished surface should slope away from the home, typically at least 1/8 to 1/4 inch per foot. That slope may seem minor, but it moves water away from the foundation rather than allowing it to collect against the house. In the Portland metro area, where rain is part of the construction equation for much of the year, drainage planning should happen before excavation begins.
Call for utility locating before digging. Also consider whether the project affects property lines, existing drainage routes, irrigation, fence posts, or required access around the home. A paver project can quickly become a larger sitework project when buried utilities, soft soils, or water issues are uncovered.
How to Install Hardscape Pavers Step by Step
Set the layout and excavation depth
Mark the patio or walkway perimeter with stakes and string lines. Use the string line to establish the final elevation and intended slope, not just the outside shape. The excavation depth must account for the paver thickness, approximately 1 inch of bedding sand, and the compacted aggregate base.
For example, a typical 2 3/8-inch concrete paver walkway with a 4-inch compacted base requires excavation of roughly 7 to 8 inches below the desired final grade. Plan for the base to extend beyond the paver edge, generally 6 inches or more, to support the perimeter and edge restraint.
Remove sod, roots, loose topsoil, and unsuitable organic material. Do not place base rock over grass or soft topsoil. Those materials decompose and shift, creating voids below the pavers. If excavation exposes wet, clay-heavy, or unstable soil, the design may need a thicker base, geotextile fabric, drainage improvements, or all three.
Build and compact the aggregate base
Install geotextile fabric when site conditions call for separation between native soil and aggregate. This is especially useful in areas with soft or silty subgrade, where soil can migrate into the base and reduce its strength over time.
Place dense-graded crushed aggregate, often called 3/4-inch minus, in thin lifts rather than all at once. Each lift should be moistened lightly if dusty, spread evenly, and compacted with a plate compactor before the next layer goes down. Most residential pedestrian installations are compacted in lifts of about 2 inches.
This is the part of the project that cannot be rushed. A base may look level while still being loose below the surface. Proper compaction creates the load-bearing structure that protects the pavers from settling. Check grade often with a long level, straightedge, or laser level, maintaining the planned slope away from structures.
Screed the bedding sand
Once the aggregate base is compacted and graded, place a consistent layer of clean concrete sand, usually about 1 inch deep. This is not the structural base. Its job is to provide a smooth, even setting bed for the pavers.
Use screed rails or pipes and a straight board to pull the sand to a uniform thickness. Avoid walking on or disturbing screeded sand. Do not use excess sand to correct low spots in the aggregate base, because a thick or uneven bedding layer can contribute to movement later. If the base is low, correct the base, compact it again, and then rescreed the bedding sand.
Lay pavers from a fixed edge
Begin at a straight, fixed edge such as the house, a curb, or a firmly set border. Place pavers directly onto the screeded sand, working forward so you are not stepping across the prepared bed. Follow the selected pattern and keep joint spacing consistent.
Check alignment frequently. Small errors become more noticeable as the field of pavers expands. Use string lines for long runs and make adjustments early. For patios with curves, steps, borders, or transitions to existing concrete, expect to make cuts with a wet saw or a suitable paver saw. Wear appropriate eye, hearing, and respiratory protection when cutting masonry products.
A herringbone pattern provides strong interlock and is often a practical choice for driveways or areas that will see more movement. Running bond and basketweave patterns can work well for pedestrian patios and walkways. The right pattern depends on the design, paver shape, and expected load.
Install edge restraints and joint sand
Pavers need a secure edge restraint around the entire perimeter. Without it, lateral pressure and repeated use can allow the outside pavers to spread, opening joints and weakening the surface. Plastic or metal paver edging secured with spikes is common for curved and straight edges, while concrete curbing or a masonry border may be better suited to certain designs.
After the edge restraint is in place, sweep jointing sand across the pavers until joints are filled. Polymeric sand can help resist weed growth and reduce joint erosion when installed correctly, but it must be used according to the manufacturer’s requirements. The surface needs to be dry and clean before activation, and excess material must be removed from the paver faces before watering.
Compact the finished pavers with a plate compactor fitted with a protective pad, then add more joint sand as needed. The compactor helps seat the pavers into the bedding layer and locks the system together. Some specialty pavers, natural stone products, and textured surfaces require a different approach, so confirm the manufacturer’s installation guidance before compacting.
Common Problems That Shorten Paver Life
Most paver failures trace back to base preparation or water management rather than the pavers themselves. Setting pavers directly on soil, skipping compaction between aggregate lifts, or relying on a thick layer of sand to create grade are common causes of settlement.
Drainage is another frequent issue. A beautiful patio is not a success if it sends water toward the home, blocks a drainage path, or creates a standing-water area at the bottom of the slope. In some yards, the correct solution includes catch basins, channel drains, swales, or downspout extensions before the pavers are installed.
It also pays to avoid trapping pavers tightly against siding, door thresholds, or existing structures without a clear plan for height and drainage. Finished elevations need to protect the building envelope and maintain appropriate clearance. These details are easier to solve during layout than after the patio is complete.
When Professional Installation Is the Better Choice
A straightforward small walkway on stable, well-drained ground can be a manageable project for an experienced homeowner with the right tools. Larger patios, driveways, retaining wall transitions, significant grade changes, and sites with drainage concerns need more planning and equipment.
Professional hardscape installation is especially valuable when the project involves excavation near utilities, tying into existing concrete, correcting poor drainage, or coordinating several improvements at once. A contractor can manage excavation, aggregate delivery, compaction, paver cutting, drainage, and final grading as one coordinated scope rather than leaving the homeowner to solve problems between trades.
For Portland-area properties, Four Seasons Landscape & Construction approaches paver work as part of the larger yard system. That means considering runoff, soil conditions, access, nearby structures, and the way the new patio or walkway will connect to the rest of the landscape.
A paver surface should feel solid underfoot, drain predictably, and look intentional from every edge. If your project has uncertain grades, wet soil, or a larger outdoor renovation in mind, start with a site evaluation before the first shovel goes into the ground.