

A well-built patio or retaining wall should remain useful after sunset, not disappear into the dark. Knowing how to install hardscape lighting starts with more than choosing fixtures. The system needs to be planned around the masonry or pavers, wired safely, protected from moisture, and positioned to improve visibility without creating glare.
For Portland-area homeowners, that last point matters. Our long wet season, shifting soils, mature landscaping, and frequent use of patios and walkways make installation details especially important. A fixture that looks good on day one but traps water, exposes wire, or shines directly into seating areas will not deliver the long-term result a finished outdoor space deserves.
Start With a Lighting Plan, Not a Fixture Order
Hardscape lighting is most effective when it supports how you use the space. Step lights help family and guests see grade changes. Under-cap lights define the edge of a retaining or seat wall. Path lights make a route from the driveway or gate to the backyard easier to follow. Accent lights can bring out a stone column, water feature, or mature tree without turning the yard into a brightly lit stage.
Walk the property at dusk before finalizing locations. Consider where people enter, where they carry food or drinks, where the ground changes elevation, and where a darker corner creates a safety concern. Also look from inside the home. Fixtures that are comfortable from the patio can still create distracting hot spots when viewed through a kitchen or living room window.
In most residential projects, less light placed thoughtfully looks better than an oversized collection of fixtures. The goal is layered, low-glare illumination. You want people to see the shape of steps, walls, and paths without seeing the harsh source of every light.
Choose Fixtures Built for Masonry and Weather
Hardscape fixtures are typically low-voltage LED lights designed to mount beneath wall caps, on vertical risers, or within paver and stone features. Use outdoor-rated fixtures with corrosion-resistant housings, sealed lenses, and hardware that can stand up to rain and irrigation. Brass and high-quality powder-coated aluminum are common choices, though the right material depends on the design, exposure, and budget.
Color temperature affects the finished appearance. Warm white light, generally around 2700K to 3000K, is often the best fit for patios, natural stone, brick, and wood structures. It creates a comfortable evening setting and tends to complement the colors found in Pacific Northwest landscapes. Cooler light can make gray concrete or certain contemporary materials look crisp, but it may feel stark around a traditional home.
Do not select fixtures by brightness alone. Too much output can wash out the texture of stone, create glare on wet pavers, and make adjacent areas appear darker by comparison. A professional layout balances fixture output, beam direction, mounting height, and spacing.
How to Install Hardscape Lighting Before the Build Is Finished
The best time to install hardscape lighting is during construction of a patio, wall, stairway, or outdoor kitchen. That approach allows the installer to conceal wiring behind veneer, below caps, inside columns, or beneath pavers before the surfaces are completed. It also avoids unnecessary demolition later.
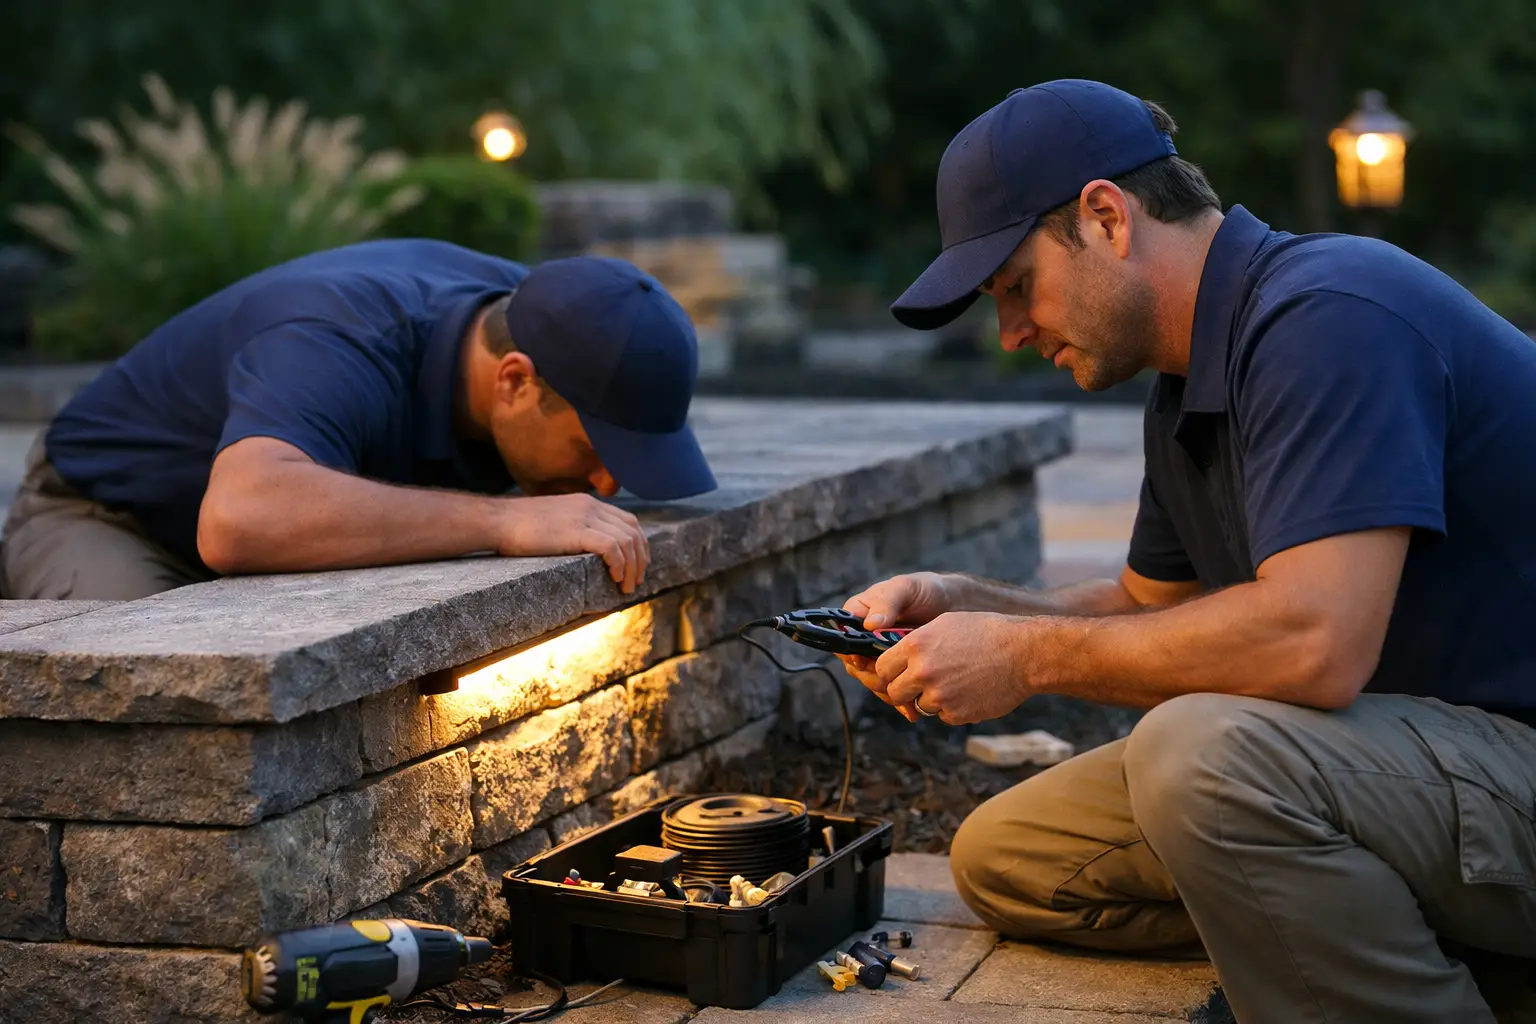
For a retaining wall or seat wall, fixtures are commonly mounted under the capstone so light falls softly down the face of the wall. The wire is routed through the wall system and protected from sharp aggregate and masonry edges. On steps, lights are often installed in the riser or tucked beneath an overhanging tread, where they illuminate the walking surface without shining into a person’s eyes.
Paver patios require similar forethought. Low-voltage wire should be set in an appropriate protected route, not simply pinched between pavers or left near the surface where it can be cut during future repairs. When a patio includes a border, landing, or built-in wall, the construction crew can create access points that keep connections serviceable.
Retrofitting lighting into an existing hardscape is still possible, but it involves trade-offs. Some caps or pavers may need to be lifted and reset, surface-mounted fixtures may be more visible, and access for wire routes may be limited. A site evaluation can determine whether the desired result is practical without compromising the existing installation.
Use a Low-Voltage Transformer Sized for the System
Most residential hardscape lighting systems operate on low voltage through a transformer connected to a properly protected exterior power source. The transformer converts household current to a safer voltage for landscape fixtures, but it still must be selected, installed, and connected correctly.
Add the wattage of every planned fixture, then allow capacity for future additions. For example, a system using 60 watts of fixtures should not be paired with a transformer that is already operating at its limit. Extra capacity gives the system room to expand and helps prevent performance issues.
Voltage drop is another important consideration. Long wire runs can reduce the voltage reaching fixtures at the far end of the yard, leaving them noticeably dimmer. Wire gauge, cable length, fixture load, and connection method all affect the result. Larger properties or systems with several zones may need more than one run or a carefully designed hub layout to maintain consistent illumination.
Protect Wiring and Connections From Water
The Portland metro area’s wet weather is a reason to be particular about wire connections. Use direct-burial cable where the wire runs underground, route it at an appropriate depth, and protect it where it crosses under hardscape features. Keep cable away from areas likely to be disturbed by edging, planting, fence posts, or future drainage work.
Every connection should use weatherproof components rated for landscape lighting. Loose, exposed, or poorly sealed connections are a common source of flickering lights and premature failures. Connections should also remain accessible when possible. Burying a splice beneath a finished patio or mortared wall may look tidy initially, but it makes future troubleshooting far more difficult.
Before any digging begins, have underground utilities located. Existing irrigation lines, gas lines, electrical service, drainage pipes, and communication lines can all affect the route. If the project includes new drainage, excavation, or a retaining wall, coordinate the lighting plan with that work so one installation does not interfere with another.
Install for Safety, Comfort, and Maintenance
Hardscape lighting should direct light toward surfaces, not faces. Under-cap lights should be recessed or shielded enough that the lamp is not visible from normal seating and walking positions. Step lights need enough coverage to reveal each tread without producing sharp shadows. Path lighting should guide movement, not line both sides of every path like a runway.
Think about maintenance while fixtures are being placed. Lamps and lenses need occasional cleaning, especially near planting beds where mulch, soil, and leaf debris collect. Fixtures near irrigation should be positioned to avoid constant spray. If a fixture is installed beneath a cap or inside a wall, the mounting method should permit replacement without dismantling the masonry.
Timers, photocells, and smart controls can make the system more useful and reduce unnecessary operation. A simple dusk-to-dawn setting works well for entry routes and front walkways. Patio and entertaining zones may benefit from separate controls so they can be used only when needed. The right setup depends on how the property is used and whether security, wayfinding, ambiance, or all three are the priority.
When Professional Installation Makes Sense
Homeowners can install a small low-voltage lighting system, particularly in open planting beds with short wire runs. Hardscape lighting becomes more technical when fixtures are integrated into retaining walls, stairs, paver patios, masonry columns, or concrete features. The work has to coordinate with structural construction, drainage, electrical requirements, and the finished appearance of the materials.
A qualified landscape and hardscape contractor can plan the lighting alongside the wall, patio, walkway, or outdoor structure rather than treating it as an afterthought. That coordination is especially valuable when a project includes excavation, grading, drainage improvements, irrigation, or new masonry. It reduces rework and helps protect the investment in the finished outdoor space.
Four Seasons Landscape & Construction works with homeowners throughout the Portland metro area to build outdoor spaces where lighting, hardscape materials, and site conditions are considered together. A clear plan before construction begins helps ensure the patio, wall, or walkway is just as practical on a rainy November evening as it is on a summer afternoon.
The right lighting should feel like part of the hardscape, not an add-on competing for attention. When the wiring is protected, the fixtures are properly placed, and the glow is controlled, your outdoor space remains safer, more inviting, and ready to use well after daylight fades.