

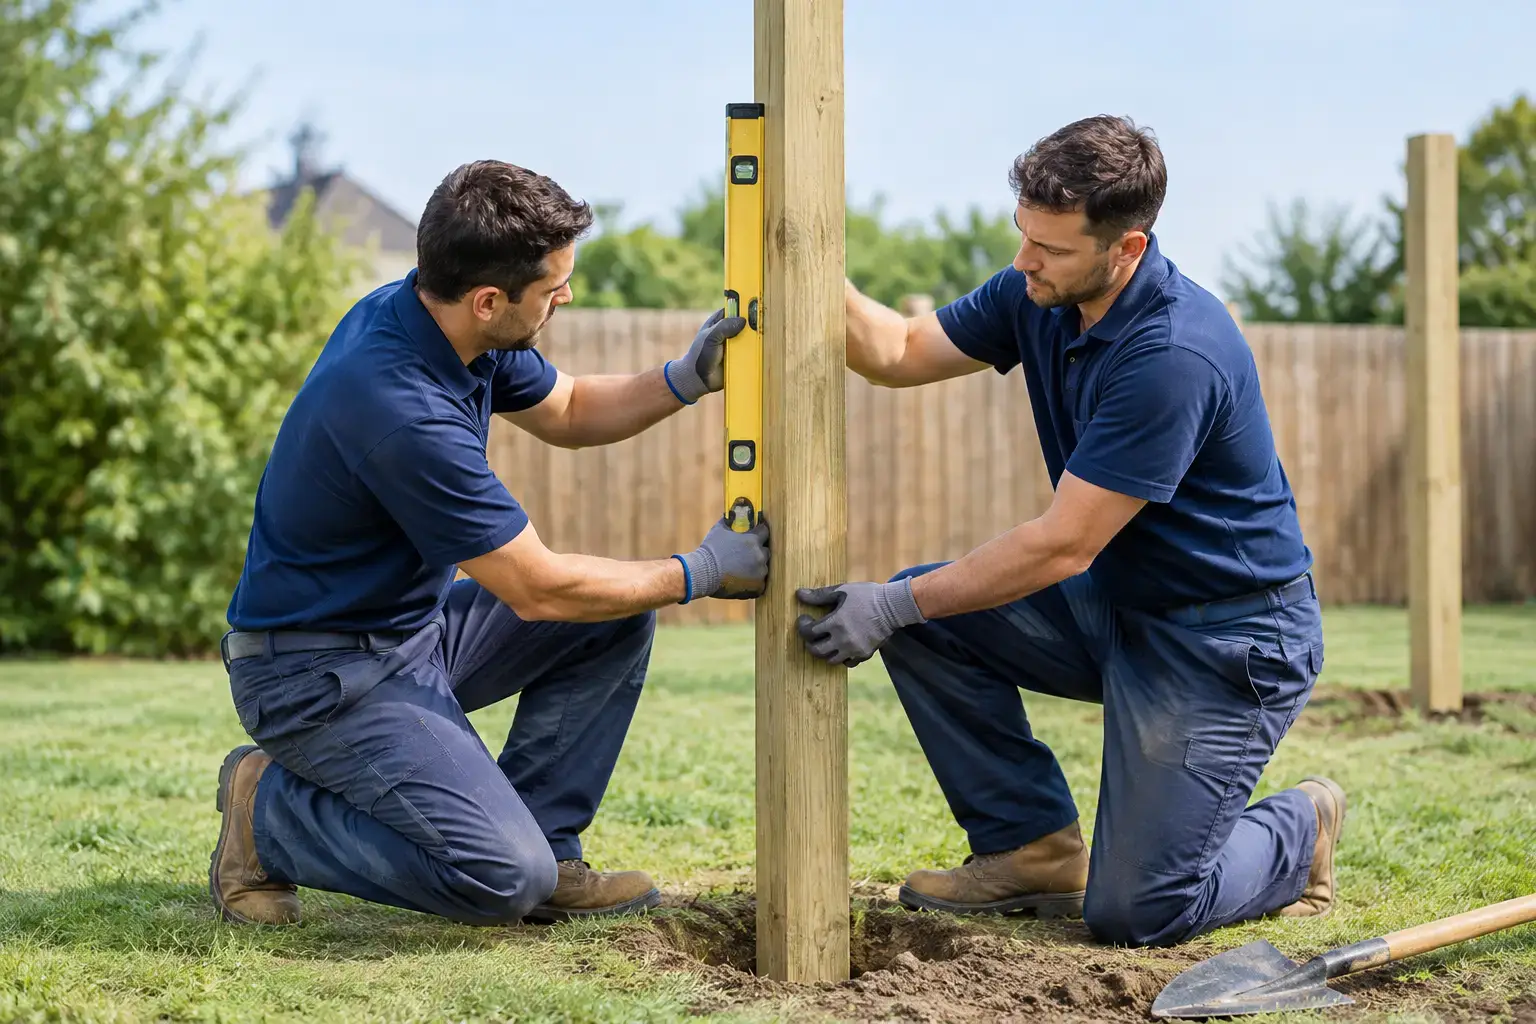
A fence is only as dependable as the posts below it. In Portland-area yards, where winter rain, clay soil, roots, and sloped lots are common, knowing how to install fence posts correctly makes the difference between a fence that stays straight and one that starts leaning within a few seasons.
A good installation begins before the first hole is dug. Posts carry the load of every rail, panel, gate, and wind gust, so layout, depth, drainage, and bracing all deserve careful attention. For a simple boundary fence, some homeowners can handle the work themselves. For a fence tied to retaining walls, drainage improvements, grade changes, or a larger yard renovation, professional installation often protects the investment.
Start With Layout, Utilities, and Property Lines
Set the fence line before ordering posts or concrete. Mark each corner first, then stretch a mason’s line between them to establish a straight run. Measure and mark the locations of line posts along that string. Most wood fence sections use post spacing of 6 to 8 feet, depending on the panel style, rail length, and site conditions.
Do not rely on an old fence alone as the property line. Fences are sometimes built inside a boundary, shifted during past renovations, or installed without accurate measurements. If there is any question about ownership or setbacks, review your survey and confirm local requirements before construction begins.
Call 811 before digging so underground utilities can be marked. This is particularly important in established Portland metro neighborhoods, where irrigation lines, gas lines, electrical service, communications cables, and drainage piping may cross a yard. Mark sprinkler heads and landscape lighting as well. A damaged irrigation line is inconvenient; striking a utility can be dangerous and expensive.
Plan gates at the same time as the post layout. A gate opening needs heavier posts, more substantial footing support, and precise spacing. It is much easier to build this strength into the original layout than to correct sagging hardware later.
Choose Posts Built for the Job
Pressure-treated lumber is the standard choice for most wood fences because it resists moisture and decay better than untreated wood. Use posts rated for ground contact, not simply exterior use. In wet Oregon soil, that distinction matters.
For a typical 6-foot privacy fence, 4×4 posts are common for ordinary line runs, but 6×6 posts are a stronger choice for corners, ends, and gates. A gate post carries repeated side loads every time the gate opens and closes. Using an undersized post may save money at the start, but it often leads to movement, sagging, or costly repairs.
Post length is determined by the finished fence height plus the depth needed below grade. A 6-foot fence commonly uses 8-foot posts set 24 to 36 inches deep. On exposed sites, sloped ground, softer soil, or tall privacy fencing, deeper holes and longer posts provide better stability. A practical rule is to bury roughly one-third of the post length, while considering the actual soil and fence design.
Metal post systems are another option, especially when homeowners want the appearance of wood with increased resistance to rot at ground level. The right choice depends on the fence style, budget, and how the fence will connect to gates or existing structures.
How to Install Fence Posts in Wet Soil
Portland-area soil can stay saturated for long periods during the rainy season. The goal is not just to hold the post upright on installation day. It is to create a footing that resists movement while directing water away from the wood.
Dig each hole about three times the width of the post. For a 4×4 post, which measures approximately 3 1/2 inches wide, an 10- to 12-inch-diameter hole is a practical starting point. A wider hole provides enough room for concrete or compacted material around the post and makes leveling more manageable.
The bottom of the hole should be firm and reasonably flat. Remove loose soil and standing water before placing the post. If the hole keeps filling with water, conditions may call for pumping, added drainage stone, or scheduling the work for a drier period. Pouring concrete into a waterlogged hole without addressing the cause can weaken the footing and create a poor long-term result.
Place several inches of clean drain rock at the bottom of the hole, then compact it. This base helps water move away from the bottom of the post rather than collecting directly beneath it. Set the post on the rock, position it to the layout string, and check it with a level on two adjacent sides.
Once it is plumb, brace the post with temporary lumber. Do not assume a post will remain straight while concrete is placed and cured. Braces hold the position while you make fine adjustments and keep the post from shifting under the weight of wet concrete.
Set Posts With the Right Concrete Detail
For most permanent wood fence installations, concrete footings provide reliable support. Mix concrete according to the product directions and place it around the post in lifts, working it into the hole to reduce voids. Stop a few inches below the surrounding grade rather than bringing concrete flush to the lawn.
Shape the top of the concrete so it slopes away from the post. This small detail matters. A flat or dished concrete surface can trap water against the wood, increasing the chance of rot at the most vulnerable point. After the concrete has set enough to hold its form, cover the remaining area with soil or a thin layer of gravel while keeping the drainage slope intact.
There is no single footing method for every property. In very well-draining soil, some fence designs use compacted gravel around posts rather than concrete. Gravel can drain well and makes future replacement easier, but it requires careful compaction and is not the best choice for every tall fence, gate post, or exposed site. Concrete is generally the more dependable option where strength and long-term alignment are priorities.
Check each post again for plumb before moving to the next one. It is far easier to correct a post in fresh concrete than after the footing hardens. Use the string line to keep the faces aligned, especially along long fence runs where even small deviations become noticeable.
Let the Footings Cure Before Building the Fence
Concrete may feel firm within a short time, but it continues gaining strength as it cures. Avoid attaching heavy rails, panels, or gates too soon. Follow the concrete manufacturer’s cure-time guidance, and allow additional time in cold or wet weather when needed.
This is also the right stage to check the full line one last time. Stand back from both directions and look for posts that are out of line, out of plumb, or set at inconsistent heights. Minor adjustments are much simpler before rails and pickets turn a small layout issue into a visible fence problem.
When installation resumes, trim posts to final height only after confirming the grade and fence design. On sloped yards, the top line may follow the terrain, step down in sections, or remain level while the fence boards change length. Each approach can look right when planned well, but the post heights and rail layout need to support that design from the beginning.
Common Fence Post Mistakes to Avoid
Most early fence failures can be traced to a few avoidable problems:
- Setting posts too shallow for the fence height, wind exposure, or soil conditions.
- Using non-ground-contact lumber below grade.
- Skipping temporary bracing and allowing posts to shift while concrete cures.
- Installing gate posts with the same light-duty support used for ordinary line posts.
- Leaving a flat concrete collar that holds water against the base of the post.
- Building rails or hanging gates before the footings have developed adequate strength.
A fence also needs to work with the rest of the property. If surface water already collects near the fence line, solve the drainage issue before new posts go in. If a fence crosses a slope or sits near a retaining wall, the layout may require excavation, stepped construction, or coordinated site grading. Treating those conditions as afterthoughts can compromise both appearance and durability.
For homeowners planning a complete exterior upgrade, Four Seasons Landscape & Construction can coordinate fence installation with drainage, grading, hardscaping, and landscape improvements. That approach helps ensure each part of the yard is built to work together, rather than creating new conflicts between structures and water flow.
A straight, solid fence starts underground. Take the time to establish a reliable line, use materials suited to Oregon moisture, and give every post the depth and support its job requires. The finished fence will look better on day one and remain a more dependable part of the property for years to come.