

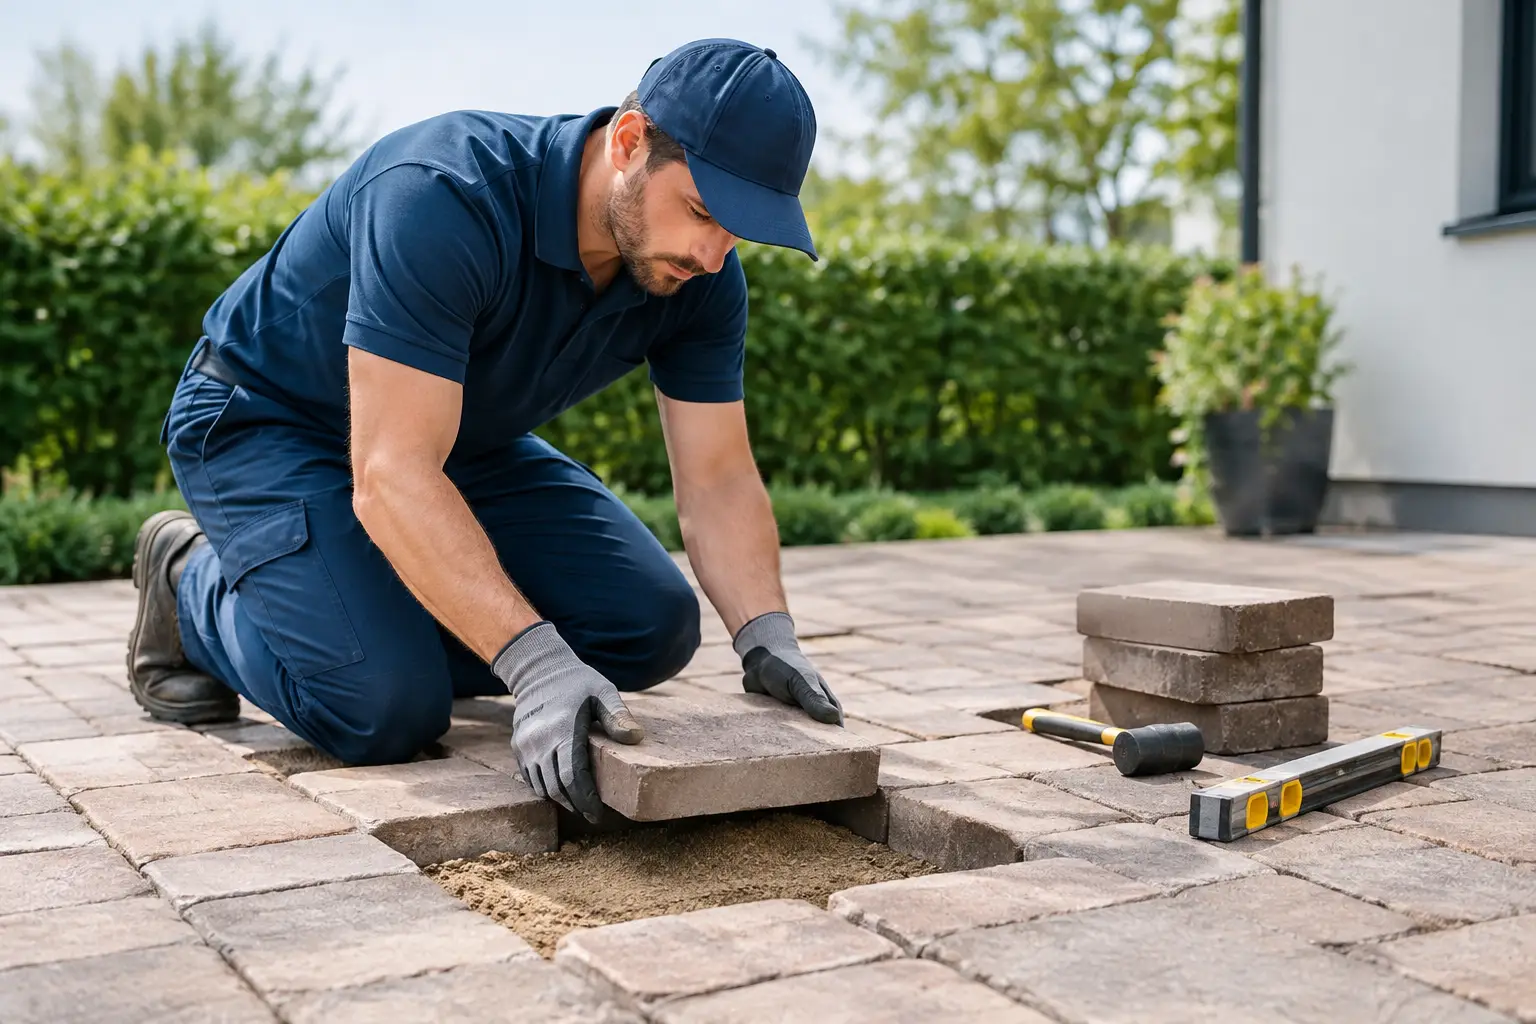
A paver patio or walkway should feel solid underfoot, drain properly, and create a clean finished edge around your home. When individual pavers begin to sink, rock, or collect water, the issue is usually below the surface. Knowing how to restore sunken pavers starts with identifying why the base failed, then rebuilding that section correctly rather than simply adding sand beneath the low spots.
In the Portland metro area, repeated rain, heavy clay soils, poor runoff control, and aging installation methods can all contribute to settlement. A proper repair can restore the appearance, safety, and function of the paved area while helping prevent the same issue from returning.
Why Pavers Sink in the First Place
Pavers are designed to flex slightly as ground conditions change, but they rely on a stable, well-compacted aggregate base to stay level. If that base loses support, the pavers above it move with it.
Water is one of the most common causes. Downspouts that discharge onto a patio, a driveway that directs runoff toward a walkway, or inadequate grading can wash fine material from the base or saturate the soil below it. Over time, the pavers settle into the softened area.
Compaction is another frequent concern. If the original installer did not excavate deeply enough, placed base material in thick uncompacted layers, or skipped proper edge restraints, the surface can shift under foot traffic, patio furniture, vehicles, or seasonal ground movement.
Tree roots can also lift one part of a paver surface while nearby pavers settle. In other cases, an old concrete slab, buried construction debris, or utility trench beneath the patio creates an uneven subgrade. The right repair depends on the underlying cause, not just the visible dip.
Assess the Area Before Removing Pavers
Start by looking beyond the sunken section. Check whether water pools there after rain, whether nearby pavers are loose, and whether the surface has a consistent slope away from the house. A level or straightedge makes it easier to see subtle low areas that may not be obvious when the pavers are dry.
Also inspect surrounding edges. If plastic, metal, concrete, or buried edge restraint has shifted or broken, the repair may need to extend farther than the visibly sunken pavers. Pavers depend on a contained field. Repairing only the center of a settling patio without correcting failed edges can lead to more movement later.
For driveways, large patios, retaining wall-adjacent hardscapes, or areas near the home foundation, a professional assessment is often the prudent choice. Those projects may involve drainage, excavation, soil stability, or grading conditions that need to be handled as one system.
How to Restore Sunken Pavers Step by Step
A lasting repair requires removing the affected pavers, rebuilding the support layers, and reinstalling the surface at the proper elevation. The process is straightforward in concept, but careful preparation determines the quality of the finished result.
Remove and Organize the Existing Pavers
Begin at the edge of the affected area when possible. A flat pry bar, paver puller, or screwdriver can help lift the first units without chipping them. Once a few pavers are removed, the rest usually come out more easily.
Set the pavers aside in the same pattern they were installed, especially if the patio has a mixed color blend, border course, or detailed layout. Brush away loose joint sand and inspect each paver for cracks or damaged edges. Reusing sound pavers helps preserve a consistent appearance, while badly damaged units should be replaced with matching material when available.
Excavate to Reach Stable Material
Remove the bedding sand beneath the pavers, then inspect the aggregate base. If it is wet, loose, contaminated with soil, or visibly washed out, remove it until you reach firm, undisturbed material.
Do not assume a shallow depression only needs more bedding sand. Bedding sand is intended to provide a thin, even setting layer, generally around one inch after screeding. Using it to fill a two- or three-inch void creates a soft layer that is likely to settle again.
The excavation depth depends on the use of the space. A pedestrian walkway may need a shallower rebuilt base than a vehicle driveway. The condition of the native soil matters as well. Portland-area properties with clay-heavy or poorly draining soil often benefit from additional excavation, proper base depth, and drainage improvements before new aggregate is installed.
Correct Drainage and Subgrade Problems
If water caused the failure, address that condition before rebuilding. This may mean extending a downspout, improving the slope of adjacent landscape areas, installing drainage components, or redirecting runoff away from the paver field.
The compacted subgrade should be firm and shaped to support drainage. In many residential installations, the finished paver surface should slope away from the home, typically at least one-quarter inch per foot where site conditions allow. The exact approach depends on existing elevations, door thresholds, retaining walls, and where runoff can safely discharge.
If roots or unstable soil are present, the repair can require a more involved solution. Cutting major roots without understanding the tree’s condition can create risks, while building directly over active root zones can lead to repeat movement. This is one of the situations where a broader hardscape and landscape plan is usually more effective than a small patch repair.
Rebuild the Aggregate Base in Compact Layers
Install crushed aggregate base material in thin lifts, generally two to three inches at a time, and compact each lift with a plate compactor. The base should be level from side to side while maintaining the planned drainage slope.
This is the work that gives the surface its long-term support. Rushing compaction or placing all base material at once can leave soft pockets beneath the pavers. Those pockets may not show immediately, but they often become visible after a wet winter or repeated use.
Once the base reaches the correct height, add a thin layer of clean bedding sand. Screed it smooth with straight guides so the pavers have an even setting bed. Avoid walking on the finished sand layer more than necessary before resetting the pavers.
Reset, Compact, and Finish the Pavers
Place the pavers back in their original pattern, checking the surface frequently with a level and straightedge. The pavers should sit slightly proud before final compaction because they will settle into the bedding layer.
Reinstall or repair edge restraints as needed. Then sweep dry joint sand over the surface, compact the pavers with a plate compactor fitted with a protective pad, and sweep more sand into the joints. This locks the individual pavers together and helps distribute loads across the surface.
Many homeowners choose polymeric joint sand for patios and walkways because it helps resist washout and weed growth when installed correctly. It is not a substitute for a properly rebuilt base, but it can be a worthwhile finishing detail. Follow the product requirements carefully, particularly for surface cleaning and water activation.
When a Simple Repair Is Not Enough
A localized repair makes sense when the settling is limited and the overall paver installation remains stable. However, widespread dips, recurring puddles, separating borders, or multiple loose areas often point to a larger base or drainage problem.
A full rebuild may be the better investment when the patio has poor grading throughout, the original base is too shallow, or a new outdoor project will connect to the existing hardscape. Rebuilding can also be an opportunity to improve drainage, expand a patio, add a retaining wall, or create a safer transition between a driveway and front walk.
For areas near foundations, steep grades, or structures such as stairs and retaining walls, it is especially important to consider how every exterior element manages water. A level-looking patio is not enough if runoff is being directed toward the house.
Protect Your Repaired Paver Surface
After the repair, keep gutters and downspouts maintained so concentrated water does not drain onto the pavers. Watch for new low spots after heavy rain, particularly during the first wet season. Promptly replacing lost joint sand and correcting small drainage issues can prevent a minor concern from becoming a larger excavation project.
When the problem involves more than a few loose pavers, Four Seasons Landscape & Construction can evaluate the base, grading, drainage, and surrounding hardscape together. A well-built paver surface is more than a finished pattern – it is a carefully prepared system that should serve your home reliably for years.